TOP West Coast Towns Most Exposed to King Tides & Sea-Level

Flooding and king tides? You don’t want these to be your best friends; in fact, you never want to meet them! But in these West Coast towns? You might not have a choice!
Table of Contents
- San Francisco, CA — Embarcadero & Mission Bay
- Marin County, CA — Marin City Flats & Highway 37 Corridor
- Mill Valley & Sausalito, CA — Coyote Creek & Harbor Fronts
- Foster City & Redwood Shores, CA — Lagoon Loops
- Alviso & North San José, CA — Pond Roads & Sloughs
- Arcata–Eureka, CA — Humboldt Bay Rim
- Newport Beach, CA — Balboa Island & Peninsula
- Imperial Beach & Coronado, CA — Bayside & Oceanfront Pinch Points
- Olympia, WA — Downtown Waterfront & Port Peninsula
- Seattle, WA — South Park & Duwamish Backflow
- La Conner, WA — Skagit Flats & Boardwalk
- Warrenton–Astoria, OR — Columbia River Edge & Hammond
San Francisco, CA — Embarcadero & Mission Bay
Why it floods: Extra-high tides push Bay water up storm drains and over quay edges. Low-lying piers and the promenade briefly go shiny even under blue skies.
Hot spots: Pier-side seams along the Embarcadero, corner pockets in Mission Creek/Mission Bay, and low sections near Oracle Park.
What locals do: Pop detours onto higher sidewalks, slip waterproof shoes into work bags, and photograph reflections you can practically read a skyline in.
Photo tip: Stand well back on higher pavers; don’t wade puddles—some are saltwater + street mix with hidden edges.

Marin County, CA — Marin City Flats & Highway 37 Corridor
Why it floods: The Bay meets marsh at basically the same elevation as roads and storefronts. High tides back up through drains; groundwater rises to meet it.
Hot spots: Marin City shopping center lots, underpasses, and miles of Hwy 37 (also hammered by combo tide + wind setup).
What locals do: Time errands to the tide chart; agencies throw temporary pumps and sandbags during peak cycles.
Photo tip: Use legal pullouts only—Hwy 37 is fast. Sausalito Lateral/Bridgeway has safer overlooks for the “shiny road” effect.
Mill Valley & Sausalito, CA — Coyote Creek & Harbor Fronts
Why it floods: Tidal creeks pinch through culverts; king tides reverse flow and pop water up at street level.
Hot spots: Miller Avenue low spots, Coyote Creek frontage, Sausalito houseboat neighborhoods with dock approaches turning splashy.
What locals do: Boardwalks and liftable ramps, plus keep-in-the-car boots for “five minutes of tide.”
Photo tip: Shoot from parklets and raised walks; floating debris rides fast—keep fingers and pets away from edges.
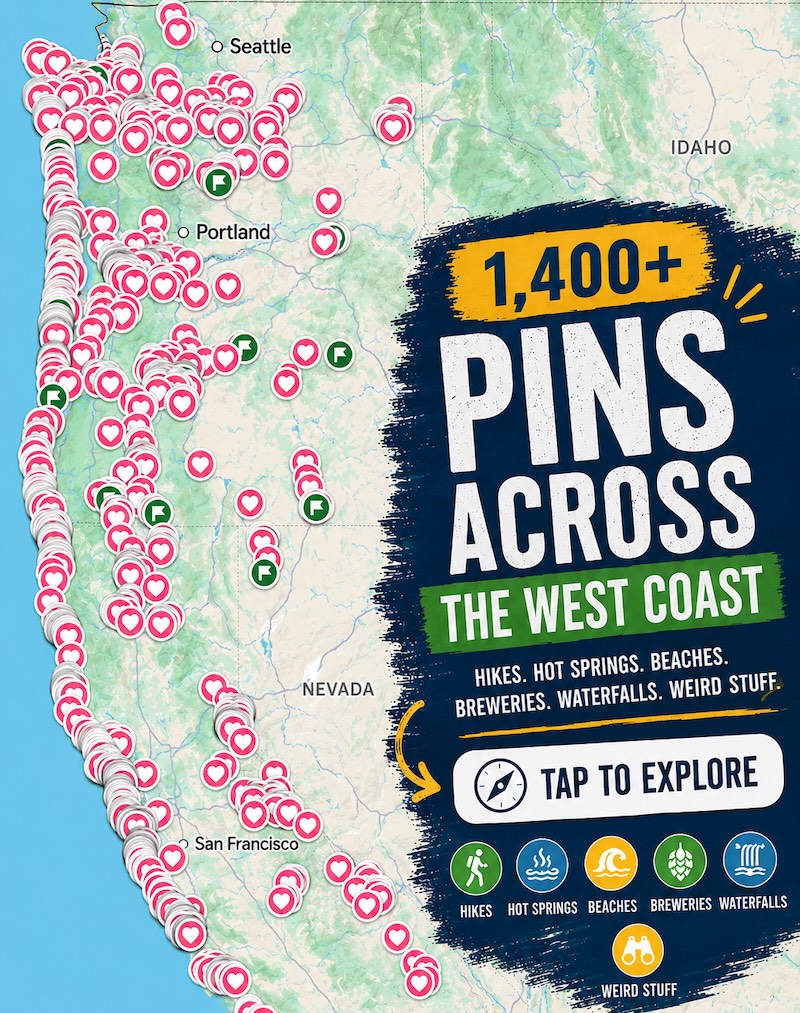
📍 GET THE ULTIMATE PNW MAP 🗺️
Get our curated list of the best adventures, things to do, and places to grab a brew loaded onto your maps with just two clicks!
✅ Waterfalls ✅ Hikes ✅ Viewpoints
✅ Craft breweries ✅ National Parks ✅ 1400+ Pins

Foster City & Redwood Shores, CA — Lagoon Loops
Why it floods: Master-planned lagoons and levees sit razor-close to Bay level. High tides stress outfalls; a stiff wind stacks water in corners.
Hot spots: Trail gaps at lagoon edges, bayward levee transitions, and dock approaches.
What locals do: Levee upgrades are constant; neighbors share “don’t drive through the silver road” reminders every winter.
Photo tip: Best angles come from the Bay Trail segments—wide, safe sightlines above the glare.
Alviso & North San José, CA — Pond Roads & Sloughs
Why it floods: Alviso is basically at sea level, ringed by sloughs and former salt ponds. King tides push into Guadalupe/Alviso Slough and percolate up.
Hot spots: Low trail segments, marina approaches, and the bendy levee roads.
What locals do: Park high and walk in; carry a trash bag to keep camera bags dry on damp gravel.
Photo tip: Elevated levee tops = safe balcony. Avoid narrow crowns when tides lap both sides.

Arcata–Eureka, CA — Humboldt Bay Rim
Why it floods: One of the West Coast’s most tide-sensitive bays. High water over-toppings hit frontage roads and marsh edges; groundwater rises into shoulders.
Hot spots: King Salmon/Fairhaven low stretches, Arcata marsh perimeters, and bits of US-101 side roads.
What locals do: Elevate, reroute, wait an hour—the water drops as fast as it rose.
Photo tip: Boardwalks and bird blinds are perfect, safe perches. Watch slick algae on ramps.
Newport Beach, CA — Balboa Island & Peninsula
Why it floods: Tidy, low-lying lanes + harbor basins = textbook sunny-day splashovers. Tides ride up curb cuts and meet from storm drains.
Hot spots: Balboa Island alleys and sea-wall seams; peninsula corners near canal mouths.
What locals do: Deploy door dams and stack sandbags like décor. Golf carts detour to higher cross streets.
Photo tip: Aim for late-afternoon high tides for warm light on mirror streets—shoot from sidewalks; don’t step down to submerged gutters.
Imperial Beach & Coronado, CA — Bayside & Oceanfront Pinch Points
Why it floods: South Bay marshes + king tides push bay water into neighborhoods; ocean side sees splash-over at berm lows.
Hot spots: Bayside bike path edges, Silver Strand low notches, and curb lips near IB Pier on extreme highs.
What locals do: Temporary berm builds and quick sandbag lines; cyclists hop to inland paths for a tide or two.
Photo tip: Use the Bayshore bikeway as a safe ridge; stay off jetty rocks—sneaker waves don’t care that it’s sunny.

Olympia, WA — Downtown Waterfront & Port Peninsula
Why it floods: Tidal surge runs up Budd Inlet into a very flat downtown; storm drains burp saltwater during peaks.
Hot spots: Market District corners, low lots by the boardwalk, and access ramps to the port.
What locals do: Shift farmers-market setups a few feet inland on big-tide weekends; rubber boots become fashion.
Photo tip: Boardwalk rails keep you dry with a perfect angle on reflective streets. Watch for fast receding water—slick film remains.
Seattle, WA — South Park & Duwamish Backflow
Why it floods: The Duwamish is tidal. King tides + low river flow = water backs into streets, even without a raindrop.
Hot spots: South Park riverfront blocks, industrial driveways on the flats, and a few Georgetown low seams.
What locals do: Portable barriers and text-tree alerts; businesses elevate gear a shelf or two every winter.
Photo tip: Stay on sidewalks; photograph the “double sky” reflections in puddled lots from a dry doorstep, not the curb.

La Conner, WA — Skagit Flats & Boardwalk
Why it floods: Tidal Skagit channels meet ultra-flat delta land; wind setup can add an extra inch or three.
Hot spots: Boardwalk approaches, S-curves near the Rainbow Bridge, and creek mouths at low bulkheads.
What locals do: Slide cars to higher side streets during peak windows; shops lay mats at doors and keep trading.
Photo tip: Rainbow Bridge viewpoints give a safe, high perspective on the glossy streetscape—no need to wade.
Warrenton–Astoria, OR — Columbia River Edge & Hammond
Why it floods: River tides pile on top of river flow; king tides overtop low curbs and work back through drains.
Hot spots: Hammond Marina edges, port lots, and low corners by the trolley tracks.
What locals do: Quick cones + detours, then life resumes an hour later when the river exhales.
Photo tip: Use the riverwalk and trolley platforms as your balcony. Jetties and riprap are off-limits in any swell.

King-Tide Playbook (Clip This)
Photo ethics. Shoot from promenades, boardwalks, and levee tops. Don’t pressure residents or block doorways—this is their Tuesday.
Never drive through saltwater. Hidden potholes + brine = tow truck + rust.
Sidewalks > curbs. Watch for sudden drop-offs where gutter grates disappear.
Mind the clock. Peaks last minutes; wait it out on higher ground and enjoy the mirror-street show.
Respect cones & closures. They mark live hazards, not suggestions.